GUIDED BUILD / PYTHON
Build a camera-powered QR journal
Turn a Raspberry Pi camera into a local marker journal. Validate labels, suppress repeat scans and keep a useful event log.
What you will build
A local camera application that records approved marker labels once per cooldown, without opening links or saving camera images.
The course supplies guided source code and local tests. Board behavior requires your own firmware build and physical validation; these guides do not grant automatic skill mastery.
Before you start
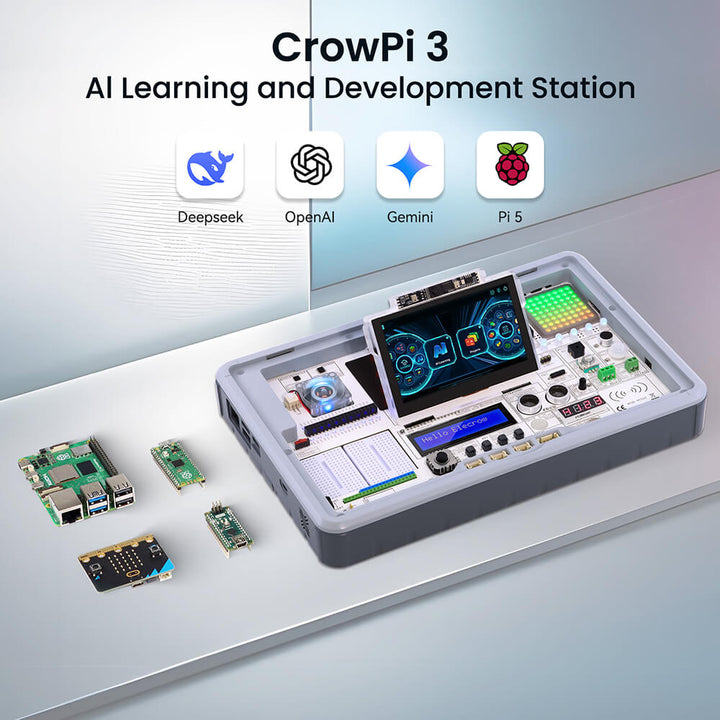
Camera work needs a Linux computer and a camera that provides frames to OpenCV. A CrowPi 3 is one optional integrated Pi setup; select the Raspberry Pi bundle deliberately.
Your build sequence
- 01
Define a marker worth recording
Specify the input, event and failure cases before opening a camera.
- 02
Get one trustworthy camera frame
Choose compatible equipment and establish capture before adding the journal.
- 03
Suppress repeats without losing new events
Use a monotonic cooldown and a bounded set of recent marker labels.
- 04
Write local events and release the camera
Connect capture, decoding and the tested policy with explicit file ownership.
- 05
Build a small scanning station
Move from a tested image to a repeatable physical setup.
- 06
Finish the journal and choose the next experiment
Document limits and extend one boundary without rewriting the policy.
- 01Desktop policy tests
- 02Target firmware build
- 03Physical observations
- 04Repeatable project notes
Parts for the physical build
- Linux computer or Raspberry Pi with a working OS
- Working camera and its vendor-supported capture setup
- Printed QR markers containing CRIGOR:BOX_A or another allowed label
Existing compatible parts work too. Equipment cards appear in the relevant lessons.