GUIDED BUILD / PYTHON
Build a Pico room monitor
Read temperature and humidity, handle missing samples and drive a calm two-LED status display with MicroPython.
What you will build
A Pico W application with explicit unknown readings, a two-degree hysteresis band and JSON serial output.
The course supplies guided source code and local tests. Board behavior requires your own firmware build and physical validation; these guides do not grant automatic skill mastery.
Before you start
The desktop policy runs in ordinary Python. Physical measurement needs a Pico W with MicroPython, a DHT11 and two LEDs with resistors. This is a learning instrument, not a calibrated environmental controller.
Your build sequence
- 01
Define warm, okay and unknown
Give thresholds, units and failed readings different meanings.
- 02
Wire the sensor and two LEDs
Match signal voltage, GPIO numbering and the actual component pinout.
- 03
Test a hysteresis band
Write the decision as a pure function and test both edges.
- 04
Read the device at a sensible interval
Connect the tested decision to DHT11 reads and LED outputs.
- 05
Turn readings into a desk instrument
Gather real evidence and decide whether a kit adds anything you need.
- 06
Document the monitor and its limits
Separate code evidence, device evidence and measurement accuracy.
- 01Desktop policy tests
- 02Target firmware build
- 03Physical observations
- 04Repeatable project notes
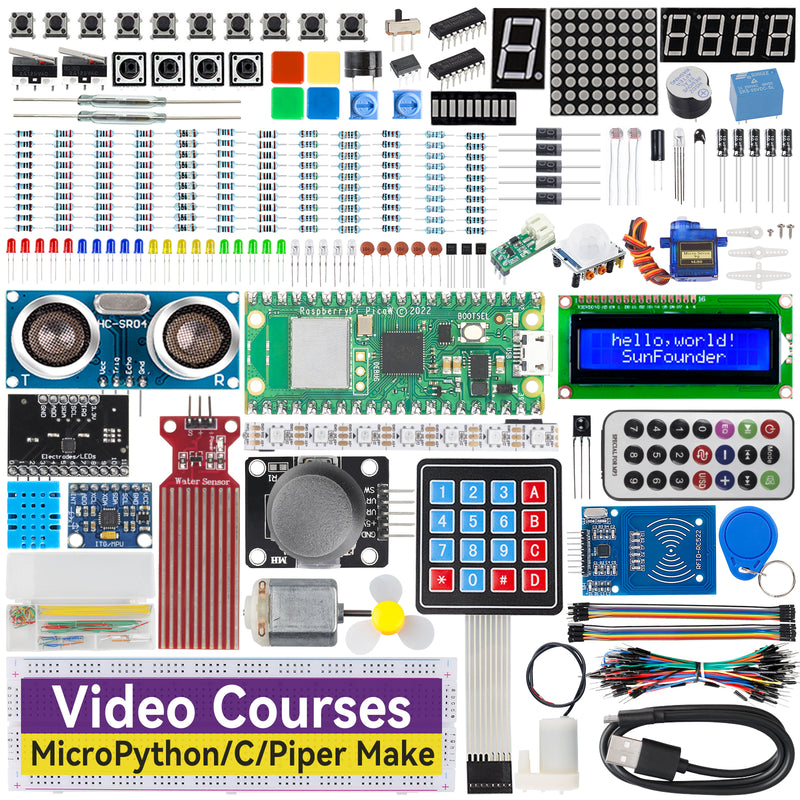
Parts for the physical build
- Raspberry Pi Pico W and USB data cable
- DHT11 module with the correct pull-up arrangement
- Red and green LEDs, one 330 Ω resistor per LED, breadboard and jumpers
Existing compatible parts work too. Equipment cards appear in the relevant lessons.